GitLab
Create, search and modify issues, manage merge requests, projects and more.
GitLab
Raycast extension to create, search and modify issues, manage merge requests, projects and more.
![]()
![]()
![]()


Features
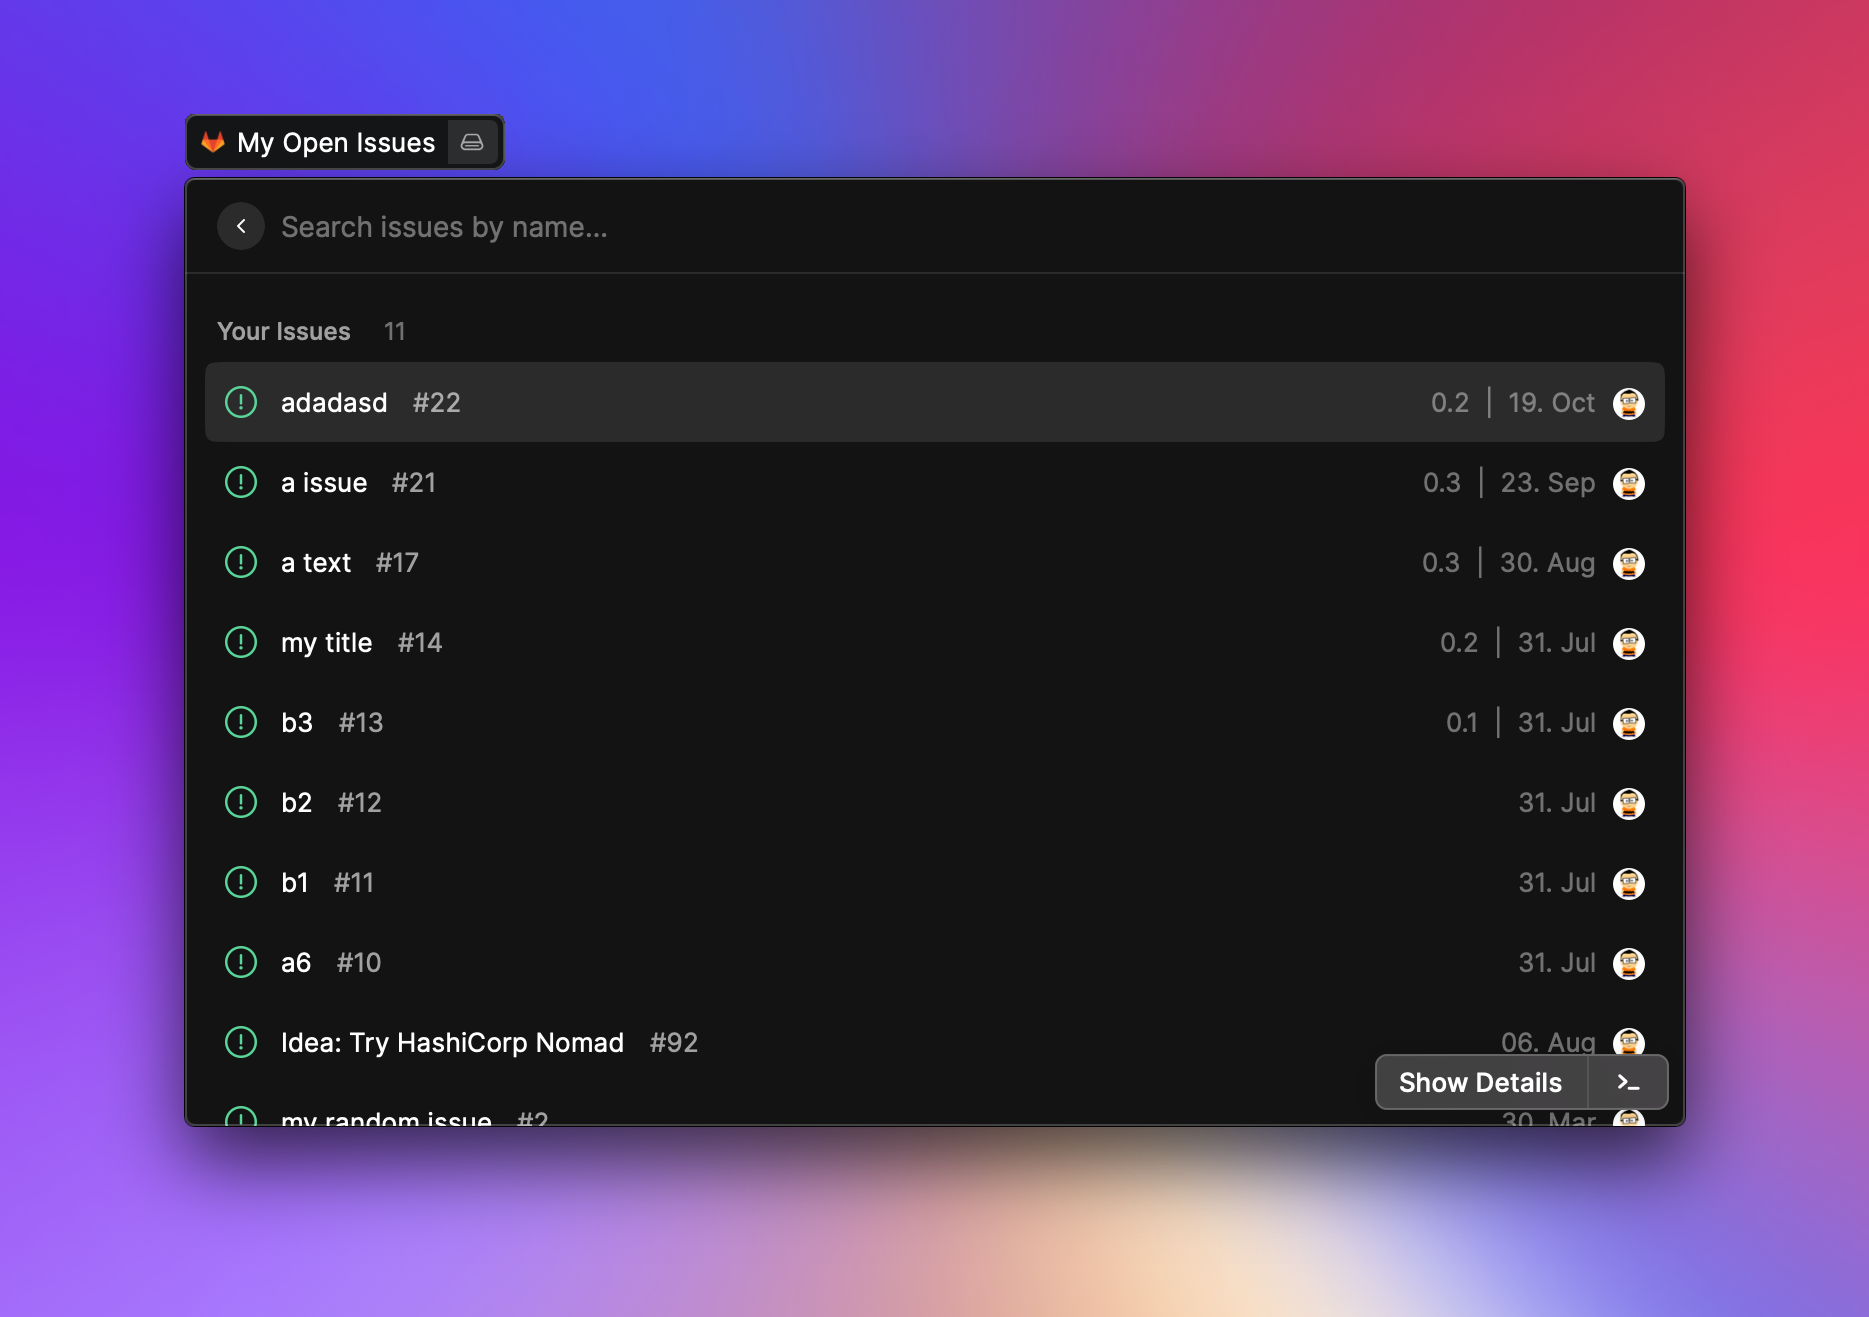
- Manage your issue
- Manage your assigned issues
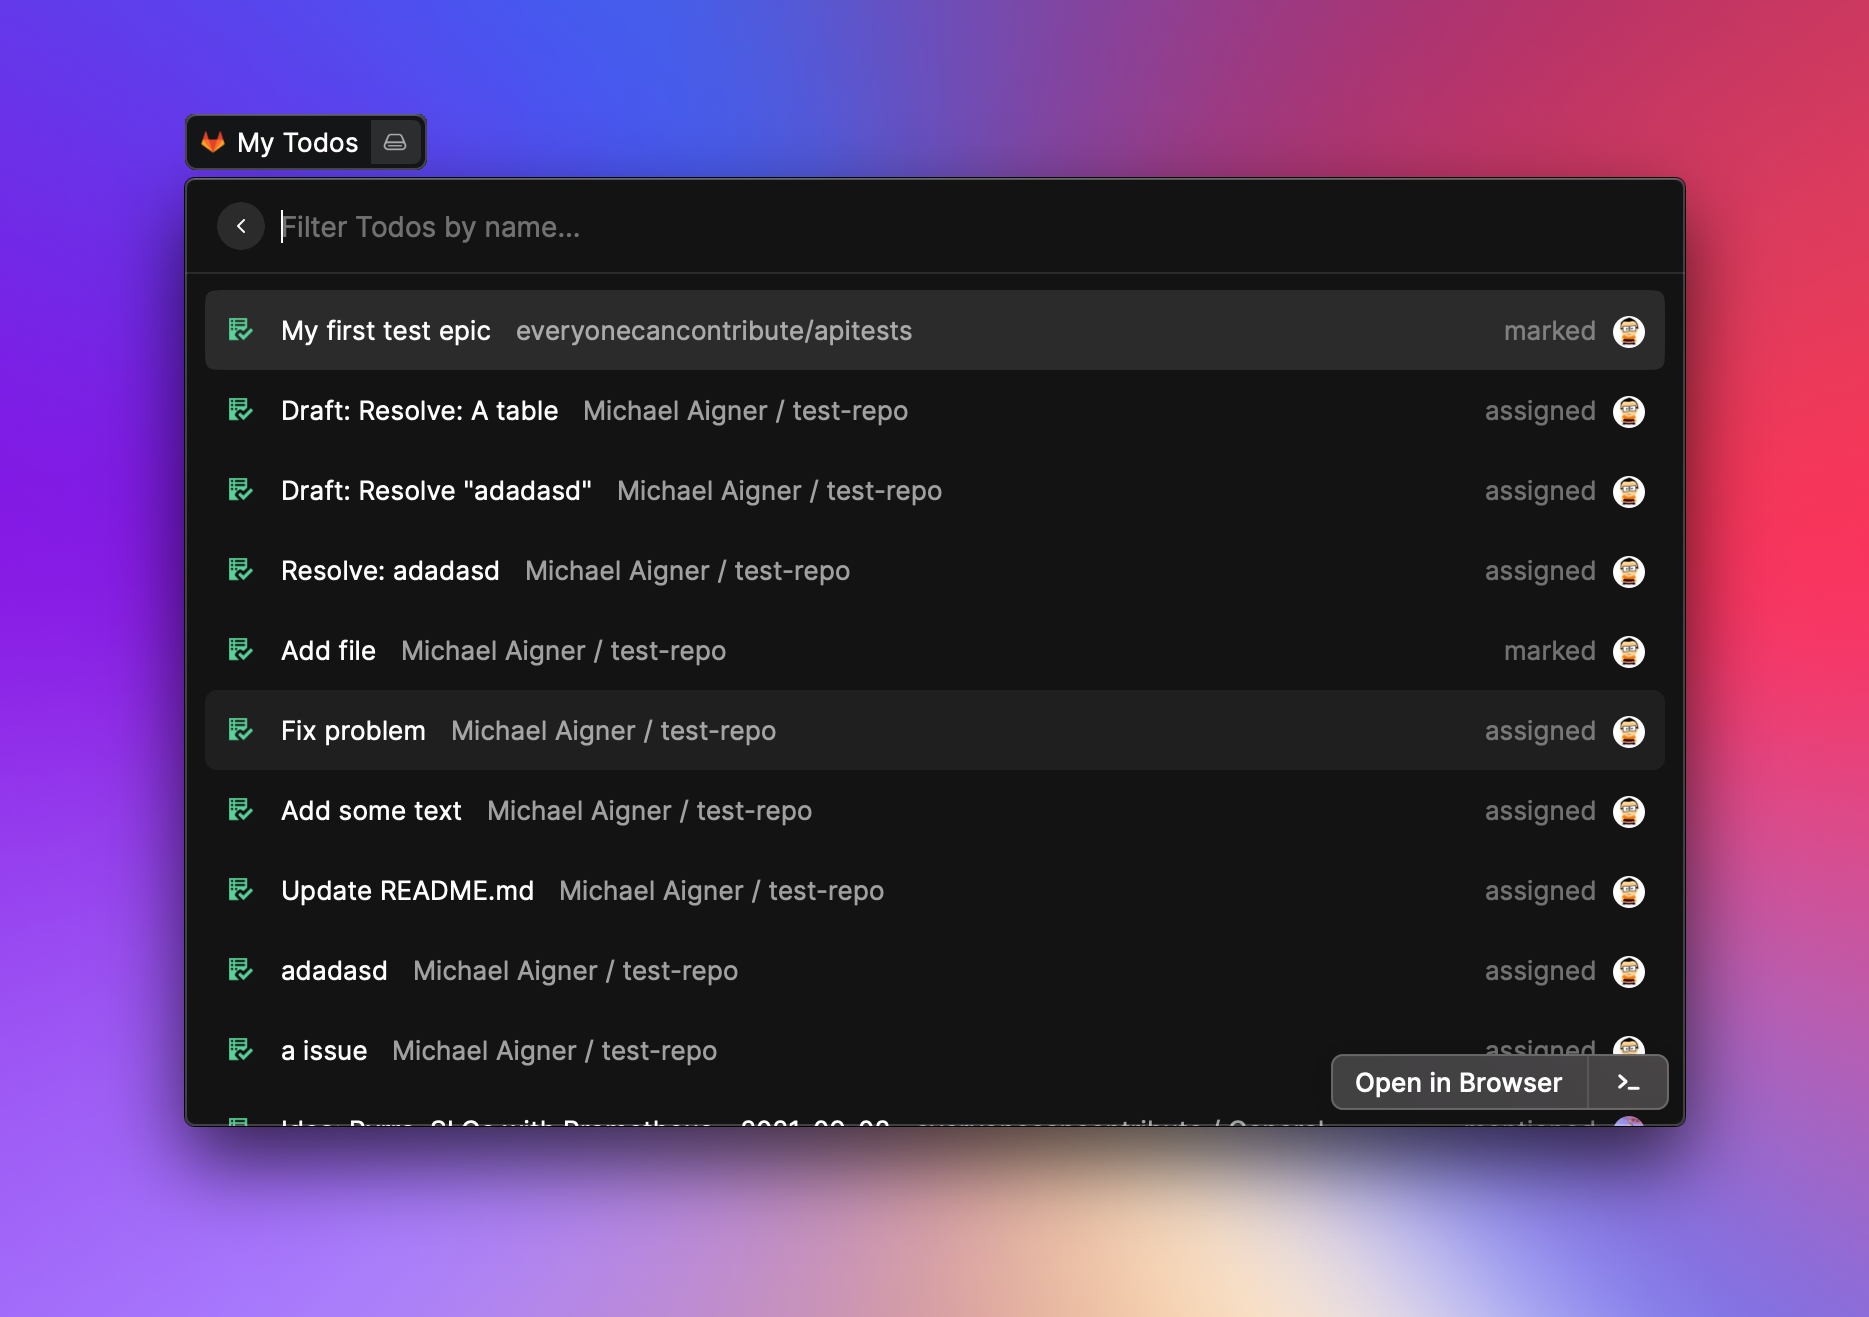
- Manage your GitLab todos
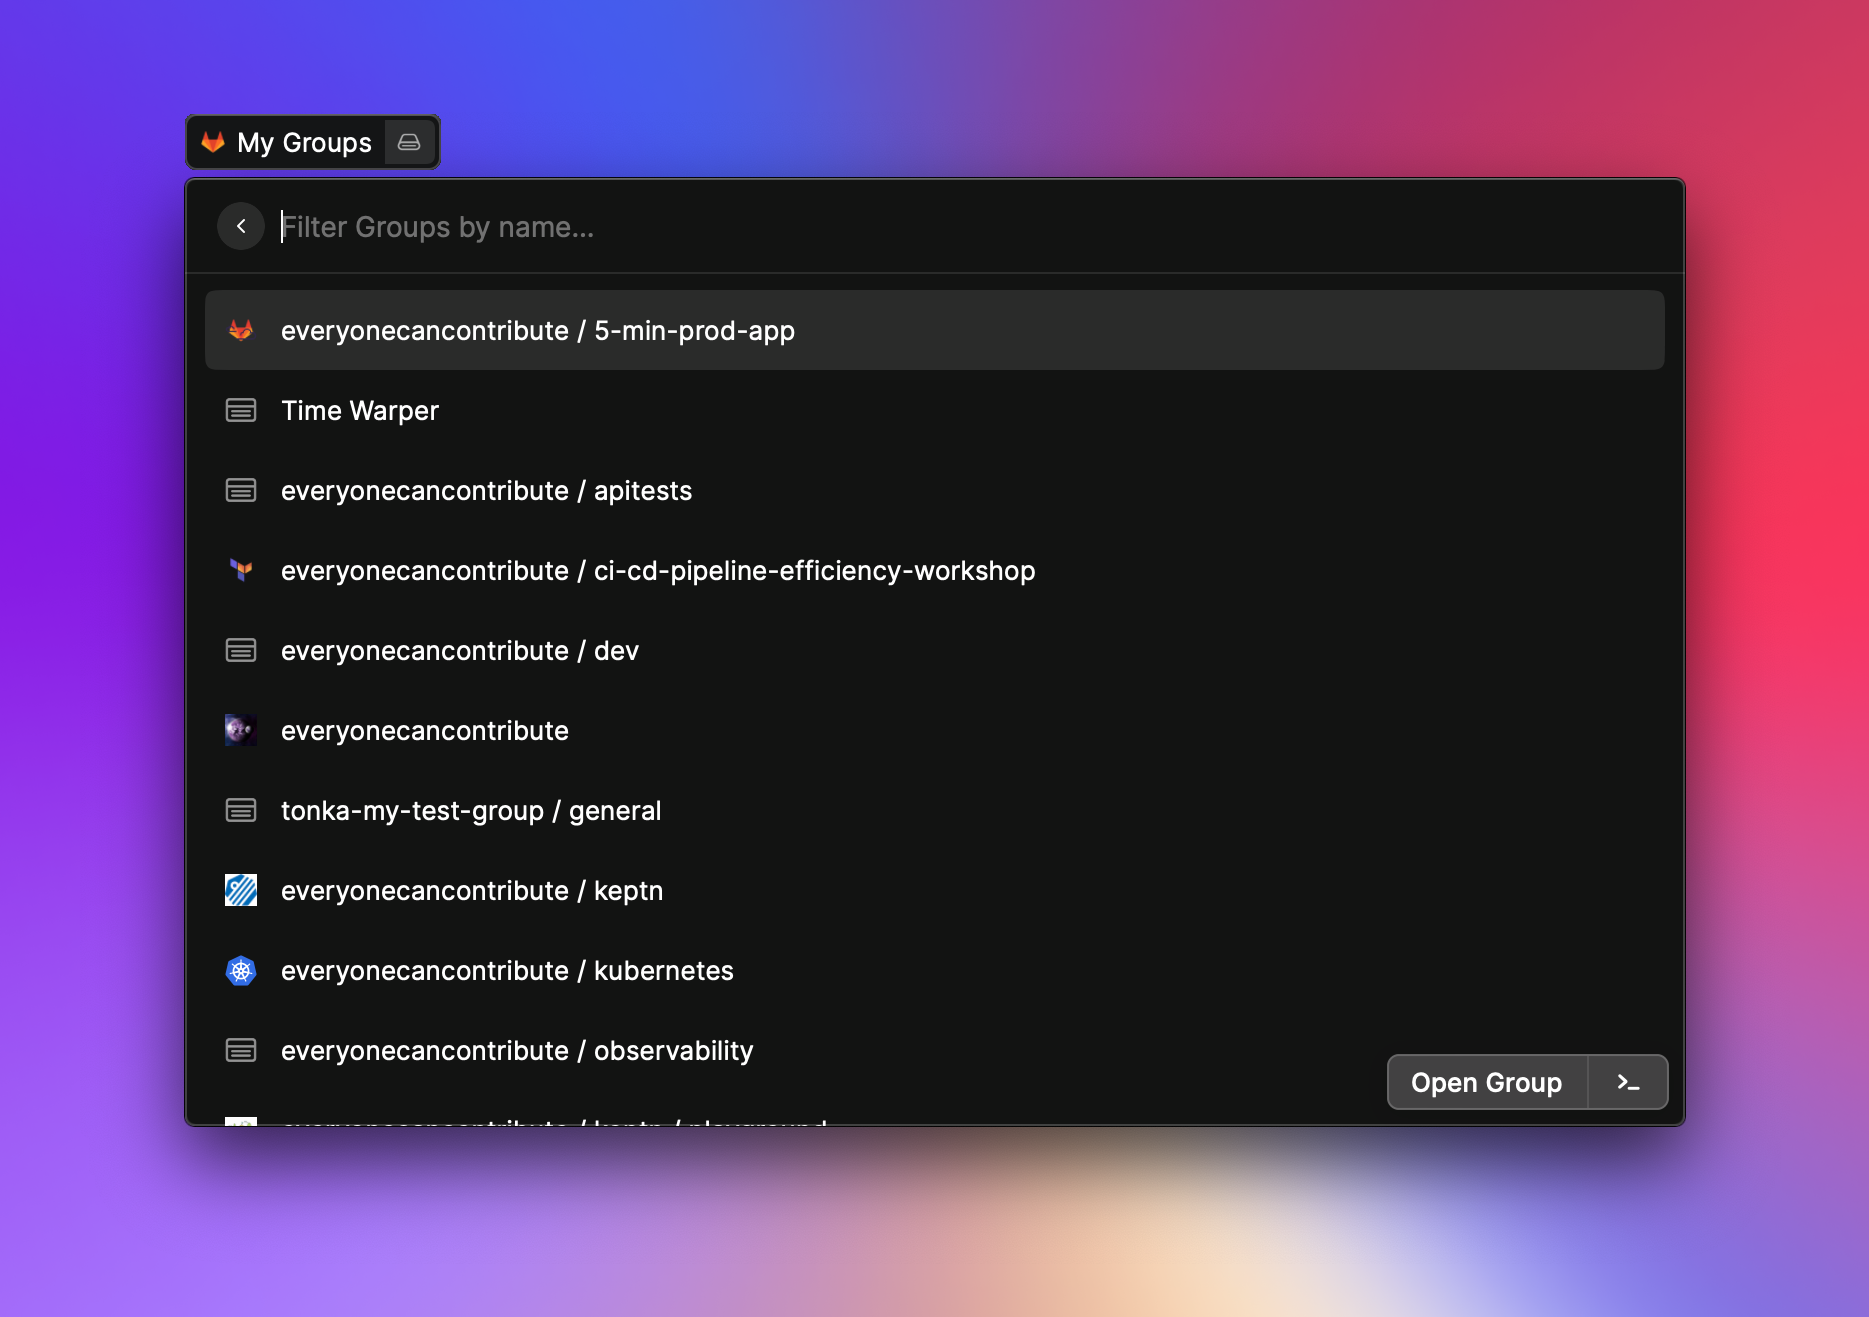
- Manage your projects
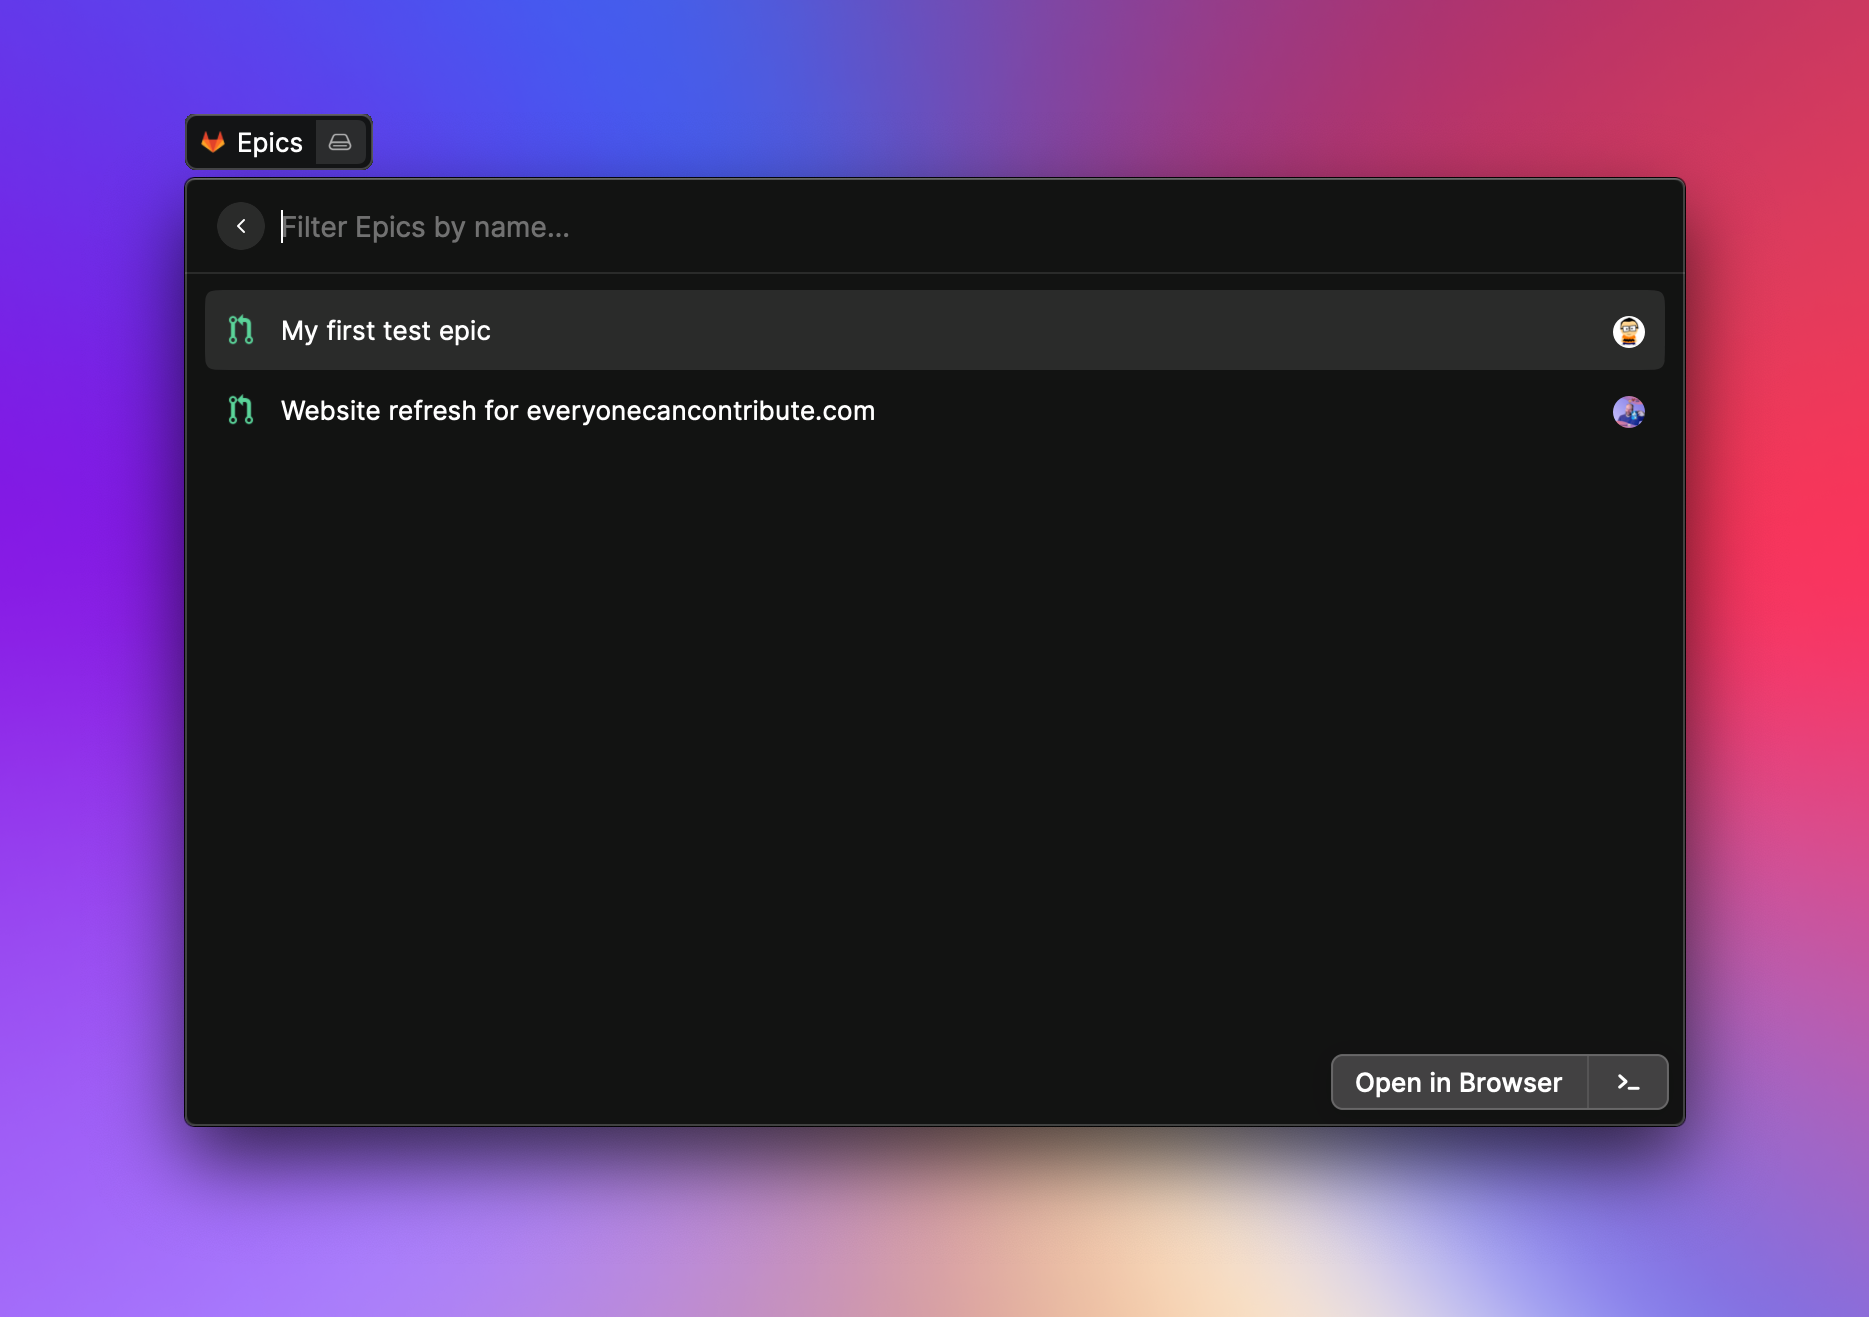
- Manage your epics
- Manage your merge requests
- Manage your reviews
- Search other users
and many more
Authentication
The extension supports two authentication methods, selectable in the GitLab preferences via Authentication:
- Personal Access Token (default). Simple, ideal for
gitlab.comand instances without rotation. - OAuth (PKCE). Recommended for enterprise instances that revoke or rotate Personal Access Tokens. Tokens are stored encrypted by Raycast and refreshed automatically; the browser flow runs only on first use and when the refresh token is revoked.
Option A: OAuth (recommended for enterprise / token-rotating instances)
- Open your GitLab instance (e.g.
https://gitlab.comor your self-hosted URL). - Go to
Preferences>Applicationsand clickAdd new application. - Fill in the form:
- Name:
Raycast GitLab(or any label). - Redirect URI: paste both lines below, one per line. GitLab does exact matching, and Raycast may use either form depending on the version, so registering both avoids "redirect URI is not valid" errors.
https://raycast.com/redirect?packageName=Extension https://raycast.com/redirect/extension - Confidential: leave unchecked. Raycast is a public client and authenticates via PKCE.
- Scopes: tick
api,read_user, andread_repository. The extension always requests these three.
- Name:
- Save and copy the Application ID.
- In Raycast, open the GitLab extension preferences:
- Set GitLab URL to your instance.
- Set Authentication to
OAuth (PKCE). - Paste the Application ID into OAuth Application ID.
- Run any GitLab command. Your browser opens once for authorization. After that the extension refreshes access tokens automatically and re-authorizes only if the refresh token is revoked.
To sign out (e.g. to switch accounts), run the Sign out of GitLab command. This clears the locally cached OAuth tokens; the next GitLab command will trigger a fresh authorization flow.
Option B: Personal Access Token
-
Go to your GitLab instance e.g. https://gitlab.com
-
Click on your avatar image in the right upper corner
-
Click on
Edit profile -
Click on
Access Tokenson the left sidebar -
Give your token a name e.g.
raycastand set an expiration date (highly recommended) -
Select your scope of choice
You need at least
read_api. When you want to make write operation via raycast, you should useapi -
Store the given access token in a secret box because GitLab want show you the key again
-
Go to the preferences in Raycast (or start any command of GitLab extension)
-
Set your GitLab instance url
For gitlab.com this would be
https://gitlab.com. Your own instance could behttps://mygitlab.org. -
Set the token from the previous step into the
API Tokenfield
Now you should be able to manage your GitLab instance with Raycast 🚀.
Tip: If your instance auto-revokes Personal Access Tokens (e.g. nightly), use OAuth instead. The Application ID is permanent; access tokens are minted from a long-lived refresh token, so you re-authorize only when the refresh token itself is revoked.
API Token/Personal Access Token scope
For all read only commands the read_api scope is enough. If you want to create/modify e.g. an issue you need
the api scope.
Self-hosted instance
If you use a self hosted instance make sure that you set your custom CA certificate in the preferences. This can be a tricky process and you need to make sure that you use the right certificate otherwise you get an error. The extension use your certificate and pass it directly to nodejs network stack. If you have troubles checkout various nodejs guides around the internet or checkout the official nodejs documentation.
You can disable certificate errors, but this is not recommended for security reasons ⚠️.
Showcases
Todos
My Open Issues
My Groups
Epics